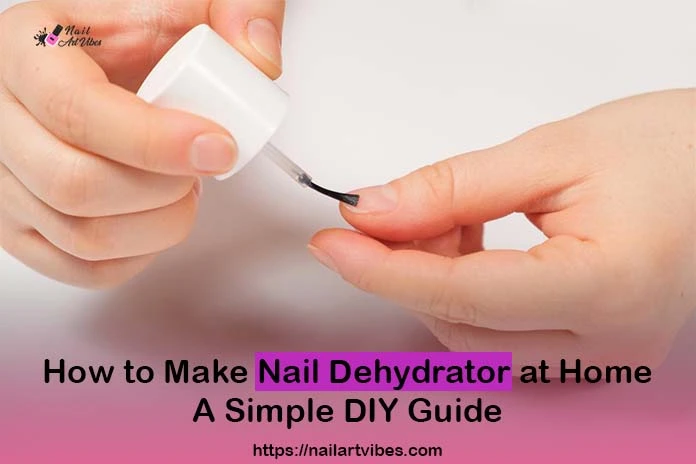
A to Z Guide to Make DIY Nail Dehydrator at Home
DIY nail dehydrator performs more effectively as you are yourself the manufacturer of the product. By applying it you can make your fake nails sets be nice for prolonged period. As, by dehydrating your nails no chip or peel occurs as oils are drawn from your nail bed which makes adhesion strong.
The use of nail primer and dehydrator is important and you cannot skip it anyway. It can damage your natural nails if you skip them. It also helps your
To cut off buying commercial nail dehydrator you can make a dehydrator at home using just a few simple ingredients. Let’s go through this guide to help youmake your nails look amazing without any fuss.
Why Use a Nail Dehydrator?
As from the intro you’ve got an abstract idea of how and why nail dehydrator is important. So let’s dive deep to learn it well making you know in detail so you do not think to skip nail dehydrator anyway.
It allows the nail care products to adhere better and last longer.
Moreover, This is especially important for people who have oily nails or live in humid environments. It’s better to dehydrate nails before applying fake nails to remove moisture on your nails to make them sit better and for prolonged periods.
How To Make A DIY Nail Dehydrator?
Now, as you know that how important diy nail dehydrater is. Incorporating it before applying nail polish or doing nail sets has its on vitality. It is king of improving adhesion on nails and thus helps fake nails to sit better.
Fortunately, you can make a nail dehydrator at home if you are having some over the counter supplies. In this guide, we will show you how to make a nail dehydrator at home using at home ingrediesnts.
Step# 1
Gather Supplies
To make a nail dehydrator at home, you will need:
- Isopropyl alcohol (91% or higher)
- Empty spray bottle
- Funnel (optional)
Step# 2
Pour Isopropyl Alcohol into Spray Bottle
Take a clean spray bottle and pour acetone and isopropyl alcohol or rubbing alcohol into it. If it is not clean properly it may affect the credibility of effectiveness.
Step# 3
Label Your Bottle
Labeling your nail dehydrator bottle is required. Also, Include the date, isopropyl alcohol concentration, and contents on the label.
Moreover, Add any warnings or instructions on the label. Now, Store the labeled bottle in an easily accessible location.
Step 4: How to Use
Creating your DIY nail dehydrator is just the first step; now, let’s dive into an exhaustive guide on how to use it effectively for optimal nail care results:
Step# 1
Gather Your Supplies
Before starting theapplication process, make sure you have all the required supplies on your manicure table.
Step# 2
Nail Prepping
Start by preparing your nails. Remove any existing polish, trim or shape them if necessary, and ensure they are impeccably clean.
Step# 3
Shaking Spray Bottle
Shake your DIY nail dehydrator gently. This mixing ensures that the isopropyl alcohol blends nicely with other ingredients for maximum effectiveness.
Step# 4
Application Techniques
- For Natural Nails:
- Holding the spray bottle approximately 6 inches away from your nails is required.
- Apply spray to each nail slightly. Keep the entire surface covered.
- For Fake Nails:
- Before making fake nails sit, apply the dehydrator to the natural nail bed.
- This step enhances adhesion, promoting a secure and enduring fit.
Step# 5
Patience is a Virtue
After applying the solution it is required to wait for few minutes. This patience is key as it gives the dehydrator the time it needs to evaporate. Doing so effectively removes excess moisture and oils from your nail surface.
Step #6
The Touch Test
When you’re at step 6 finally perform a gentle touch test. It is to confirm that your nails are completely dry. Performing this step ensures that you can forward the procedure to next step.
Note: Keep Isopropyl alcohol away from heat sources as it is flammable.
How To Store Nail Dehydrator?
Let’s store your DIY nail dehydrator!
- Keep your DIY nail dehydrator in a cool, dry place away from direct sunshine.
- Shake the DIY bottle before you use it.
- A paper label with content and date is important.com
- Keep it away from the reach of kids.
Conclusion
Nail dehydrator works as a game changer and transforms your dull and brittle nails into awesome nails. If you can’t afford the commercial version making a DIY nail dehydrator will do the job at an affordable cost.
The at-home version will not lack giving you extraordinary results.