6 Amazing Steps To Use Cuticle Pusher for a Quality Finish at Home
Going to the salon is not the only solution for your hands; it’s all about the technique. Using a cuticle pusher is the secret that elevates the entire game. If you’re somebody no longer interested in spending too much at a salon for whatever reason, congratulations! You’ve found the right technique to save bigger and still get the same salon-finish manicure results.
Grabbing the essential tools is the basic step; the technique is the rest. A humble cuticle pusher, in reality, sets the stage for results worth showing off. This small yet potent tool is a one-man army for getting that sleek, salon-quality finish from the comfort of your own home. Follow the steps below, and you’ve already unlocked the secret.
What is a Cuticle Pusher?
Let’s have an introduction to today’s showstopper: the “cuticle pusher.” Think of it as a nail care tool that always comes at the front line of your kit. It is extremely useful when it comes to achieving a clean look and attractive neatness for your fingernails. Its basic role is to help you push back the cuticles (cuticles are a thin layer of skin around the nail base).
The cuticle pusher’s role is the main focus in manicure sessions because clients pay for hand beauty. Also, many health reasons and conditions notify this part.
The purpose is not to visit the salon weekly, but to make your nails look like you haven’t skipped a visit. When you properly do your manicure at home, you still get more of the nail plate, giving your nails a clean, elongated look and helping to create a smooth surface for your polish.
Step-by-Step Guide to Using a Cuticle Pusher
To achieve a salon-quality finish, follow these simple steps to use your cuticle pusher effectively:
- Prep Your Nails
Prep your nails means making sure they are dirt-free and polish-free! Washing your hands is a must because you have to start with a fresh base. - Soak Your Nails
Just after you get your nails cleaned and washed, here comes the next step to soften your nails. It’s important to do the job with soft hands; harshness is not the solution—it only worsens the situation. Softening will make your cuticle skin feel relaxed. You have to soak your nails in warm water with soap for 5-10 minutes. Softening is crucial. If you’re in a hurry and have no time, use a softener liquid. - Push Back the Cuticles Gently
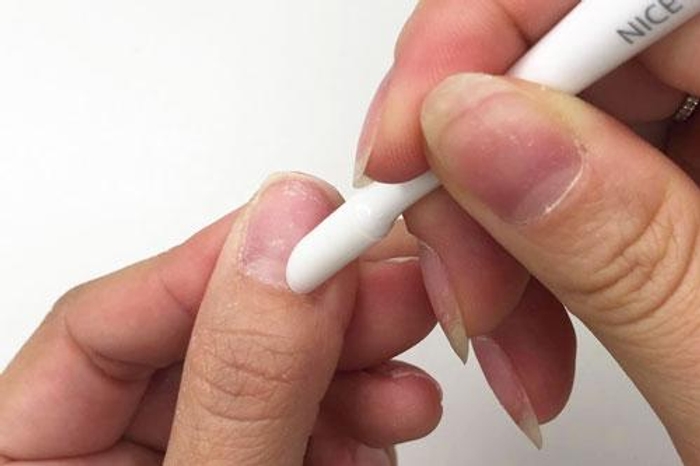
On your softened, soaked nail area, place the round end of the cuticle pusher right where the cuticles meet the nail plate. Apply a little smooth pressure and gently push back the cuticle skin. Keep doing this until you’re close to the final results. - Use the Pointed End for Precision
To bring precision into the process, flip the side, and the pointed end will do the job now. With the use of this side, you can now get rid of excess cuticle skin, and this is the technique that the nail techs use.
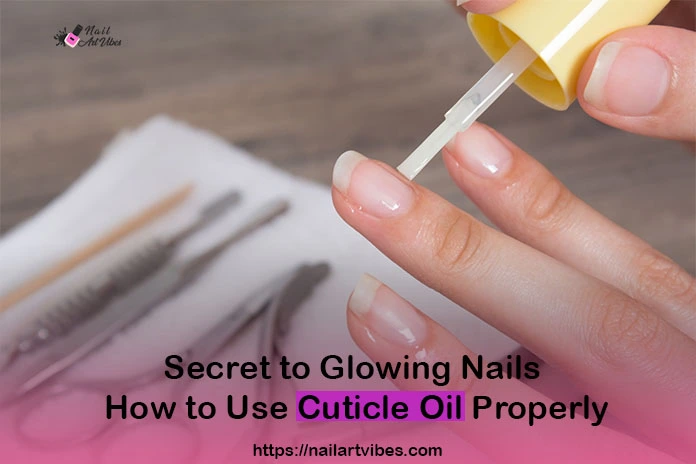
Be gentle on your skin—the pointed end can injure you when not used with precision or with extra pressure. - Moisturize Your Cuticles
Okay, so the job is done, but stop! Don’t be in a hurry to finish because nourishing is still the main focus. Use a nice moisturizer to hydrate your skin. With this step, you’re preparing your hands to fight hangnails, cracks, or dryness that can lead to an untidy manicure. - Apply Your Nail Polish
Leaving your nails bare like this is not okay. Now, let’s apply your favorite polish to your nails because elevating your nail game is the promise. Apply your base coat, color, and top coat. The procedure is finally completed. With every step followed as it is, you now own long-lasting, clean, and hygienic nails.
Why Using a Cuticle Pusher Makes a Difference
Only cleaning does not make the situation acceptable. Your nails deserve to look neat and pretty—that’s when the cuticle pusher becomes a necessity. Its job is to make your nails cleaner, neater, and more hygienic.
The defined edge between the cuticle and nail is the area that makes a large difference when doing a manicure.
Key Benefits:
- Neat, clean nails: The cuticle-pushing procedure promotes neatness, cleanliness, and beauty of your hands.
- Better polish application: With pushed-back cuticles, you have an elongated nail vibe, more area to present, and more canvas to show off your polish.
- Healthier nails: Regularly working on cuticle skin promotes nail health.
Final Tips for Perfecting Your Home Manicure
- Don’t Overdo It: You need to do only what’s necessary—overdoing it can cause harm.
- Use Tools Regularly: Routine can make all the difference. Pushing cuticles may not give the best results for the first time.
- Invest in Quality Tools: A humble, high-quality cuticle pusher is required.
Conclusion
All this information aims to help people save money and time spent in salons. DIYs are popular, and doing at-home manicures is becoming popular as well. But the problem occurs when the results do not satisfy. The solution to the problem exists in the above blog.
Good luck!