Explore 6 Natural Cuticle Removers for Healthy, Happy Nails

If you’re someone who adores the beauty of hands and feet, this blog is going to be useful for you. To make your hands look and feel their best, I’ve got you six natural cuticle removers so you could enjoy healthy, happy nails using at home ingredients.
Let’s see what secret natural cuticle removers we have on the list;
Remove cuticles without irritating yourself using natural remedies to try at home.
Lets In this section, we’ll explore some effective and easy-to-make natural DIY cuticle removers that you can use to achieve healthier, smoother cuticles without breaking the bank.
1. Lemon Juice and Olive Oil Remover for Cuticles
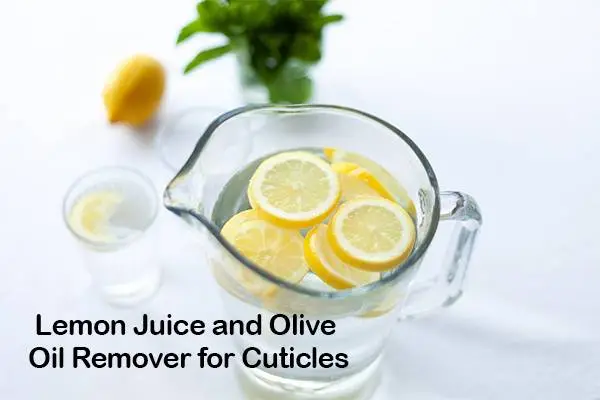
With a regular kitchen ingredient like lemon you can get your cuticle removal job done at home. Soak your nails in lemon juice and you will see the magic.
The presence of vitamin C and bleaching capabilities of lemon juice, when combined with the moisture and nourishment of olive oil, makes an effective, hazard-free cuticle remover. Not just removing cuticle, but it promises to brighten up your day and your nails too.
How to make
- Mix equal parts of lemon juice and olive oil in a bowl.
- Massage it onto your cuticles for 5-10 minutes.
- Rinse with heated water and pat dry.
2. Apple Cider Vinegar and Honey Remover For Cuticles
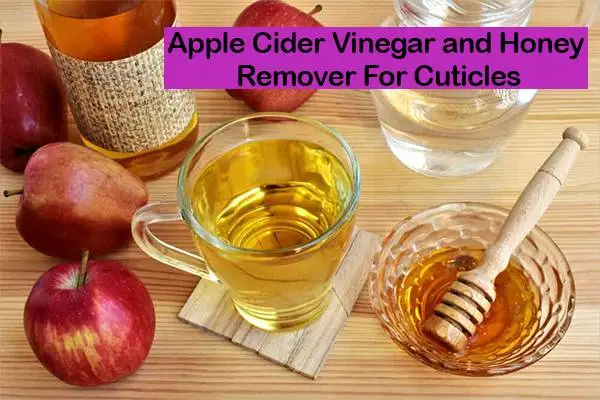
Most of us are never out of apple cider vinegar, also it can be easily available at your local grocery store. Being a natural astringent it helps removing dead cuticle skin. Meanwhile honey plays role providing your cuticles moisturizing and antibacterial properties.
You can mix up honey and apple cider vinegar both and make your at home, natural cuticle remover easily.
How to make:
Take a bowl, add 1 tbsp of apple cider vinegar and 1 tbsp of honey and stir to combine. Now, apply the mixture using a brush on cuticles and wait for 10-15 minutes. Rinse off your hands with heated water and moisturize with cuticle cream.
3. Aloe Vera Gel and Vitamin E Oil Remover for Cuticles

If you’re sensitive to allergies and cannot tolerate lemon juice or apple cider vinegar on your hands this one is for you.
Aloe Vera gel and vitamin oil can get your job done while providing you with soothing, hydrating, nourishing and strengthening properties. Try at home and enjoy your beautiful clean hands.
How to make:
Combine 1 tbsp of vitamin E oil and aloevera gel both and mix, apply and let it sit for 5-10 and massage. Now, rinse off your hands.
4. Sugar Scrub Remover for Cuticles

A sugar scrub is a gentle exfoliating method that helps in removing fallen skin cells and makes your cuticles smooth.
It’s an easy and effective and perfect DIY cuticle remover that you can make using simple ingredients available in your kitchen.
How to make:
Take a tbsp of brown sugar and a tsp of coconut oil and mix well. Now, apply the mix to the cuticle skin and massage nicely in circular motion. After doing it for a few minutes, wash your hands or clean them with damp cloth.
5. Almond Oil and Lemon Essential Oil Remover for Cuticles
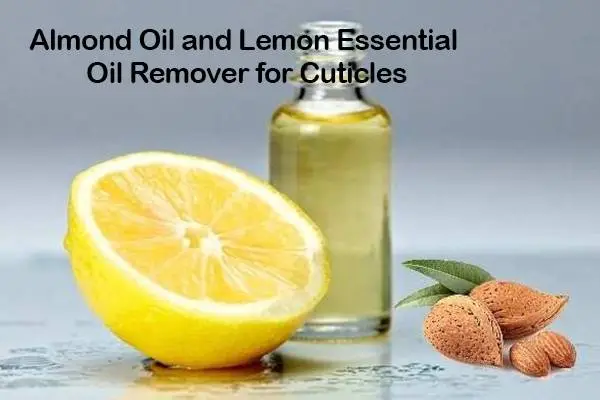
Take over-the-counter almond oil, mix it with regular lemon essential oil, and you’re ready to take your cuticles at the comfort of your space without using expensive creams.
As a natural moisturizer, almond oil helps in nourishing your cuticles, joining the antiseptic properties of lemon oil, which is the worst enemy of dirt and bacteria.
How to make:
- Add 2-3 drops of lemon essential oil and one tbsp almond oil together, when it looks even, apply it on your cuticles. Massage your cuticles with it for a few minutes and wash off your hands.
6. Baking Soda Cuticle Remover
Here comes another effective and simple DIY method to take off your cuticles, leaving smoother skin around your nails.
Soda scrub is a regular at home ingredient, using it provides with gentle exfoliation to nicely remove dead skin cells and soften the skin of cuticles.
How to make:
Mix a tablespoon and teaspoon of baking soda and olive oil respectively . Apply the paste on your cuticles and wait for ten minutes, now rub and rinse it off, your dead cuticle skin will fall apart.
Related Article: How To Remove Cuticles Without Cutting?
FAQ’s
Q: How many times is it recommended to remove cuticles?
A: It is recommended to use cuticle remover only one time a week. Frequent use may cause dryness and irritation.
Q: What is the best time to use Cuticle Remover?
A: When you’re just done with any job like taking shower, you may consider removing your cuticles, because half the process of softening your cuticles is already done and you don’t have to wait, just deal with the removal part.
Q: Can I make my remover of cuticles?
A: You can make DIY natural cuticle remover at home using over-the-counter natural ingredients.
Q: Can we consider cutting cuticles? Is it safe?
A: Cutting cuticles is not advised, it is an invasive process and can potentially cause infections, inflammation, and other complications. Instead, if you’re only concerned about neat and clean nails, opt for pushing your cuticles back.
Conclusion
The secret of healthy shiny nail lies in taking care of your cuticles. Pushing back cuticles is advissed as removing cuticles is invasive process and doing it at home is not recommended.
But when you still insist, try using natural cuticle removals to minimise the hazards removing cuticles may cause. Be gentle with sensitive areas like skin and slay your nail game like pro.