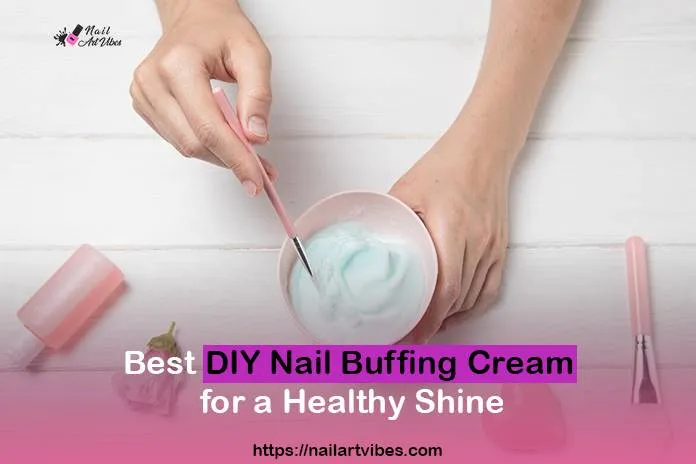
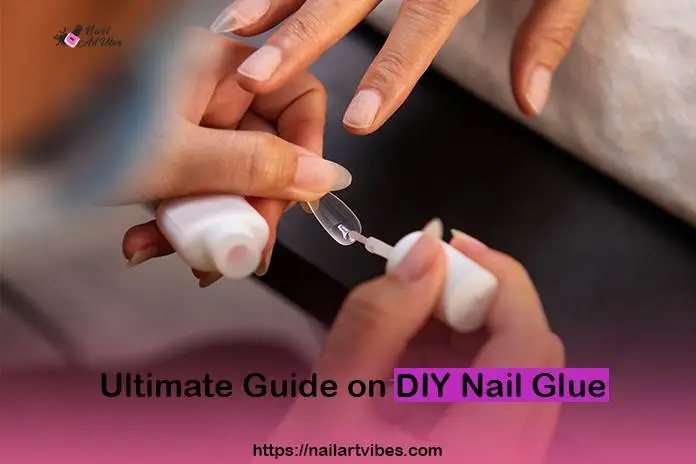
Ultimate Guide on DIY Nail Glue
For those who love wearing nails, how important is it to have good nail glue? but market-bought ones will come with hazardous chemicals and will cost you more. So, let’s make DIY nail glue at home.
Not rocket science but few steps to follow and you will have your adhesive which is not gonna consisting of allergic chemicals and will stay longer keep your nails adhered for a prolonged periods. Glue is an essential product for those who love to wear artificial nails or enjoy nail art.
Let’s dive into the details and start making it now!
What is Nail Glue?
Nail glue is an adhesive specially designed to bond artificial nails to natural nails and is responsible for adhering nail tips and embellishments to natural nails. Its formula is curated keeping in mind daily activities to withstand them and endure the maximum exposure to things.
The bond it makes is strong and durable and keeps your nails intact for prolonged periods.
The nail glues that are market-bought typically contain cyanoacrylate-based, which instantly dries up and keeps strongly bonded.
Benefits of DIY Nail Glue:
The market-bought adhesives will cost you more and will consist of harsh chemicals that may affect people with sensitivities. Let’s see why we should opt for DIY nail glue.
Natural Ingredients:
When you make it your own, you can skip those harsh chemicals and with friendly and durable natural substitutes you can make a nail glue that provides you with all the benefits but no side effects.
Cost-Effective:
Coomercial nail glues cost more as compared to the ones you make at home. Either you will find the ingredients for Diy nail glue at home or you can buy them at an affordable cost from the market, in both cases it’s a budget-friendly choice.
Customization:
With Diy nail glue you are open for customization to your liking and preferences. Try different formulas and adjust the consistency and drying time to suit your needs.
Fun and Creative:
If you like doing DIY projects, you’ree gonna love this so muc h.You will find it more, fun creative and useful and the good thing is you have complete control over what ingredients you use so you can mix and match different ingredients and invent your own formula.
How to Make DIY Nail Glue at Home:
Follow these steps to create your DIY nail glue:
Ingredients:
- PVA glue (white craft glue)
- Clear nail polish
- Optional: Nail glue brush or a clean, unused nail polish brush
Step 1: Prepare the Mixture:
Add an equally small amount of PVA glue and clear polish to any empty and cleaned nail polish bottle. Mix both of the ingredients till well combined, making a smooth texture. Consistency is your own choice; you may make it thicker by adding more PVA glue and can make it thinner by adding more clear polish.
Step 2: Application and Usage:
Wash your hands and dry them; make sure to use a nail dehydrator to stop oils from coming. Now, add a pea-sized amount of glue on the back of the artificial nail or nail tip and press it against your natural nail. Keep it pressed for a few seconds to make sure it stays in place.
Repeat the same process for every nail on your hand. When the nails are adhered nicely and have dried, you may resume the process and go with any required art or embellishments.
Precautions
The DIY glue is safe, but still to be on the safe side, one should take necessary precautions to make sure nothing is going wrong.
- Apply your DIY nail glue on a small area of your skin before you try adhering your nails to see if it does not have any adverse effects or may cause allergies. The patch test has always been so useful and life-saving.
- A patch test is done on the part of skin that is healthy and smooth; damaged or irritated skin may develop an instant infection.
- The strong fumes of glue may suffocate you or may cause trouble for those with breathing problems. Always set your work desk in a properly ventilated area to prevent such cases from coming into existence.
- Do not keep DIY nail glue in of reach of children.
Conclusion:
DIY nail glues safe you from hassle of finding a glue that is safe from harsh chemicals, and those will ocourse cost you more. You can try natural ingredients and will get diy nail glue made for you. You may experiment different ingredients so you could curate a formula that resonates to your liking.
Also, bing cautious is important during you make home made nail glue or apply it, to prevent fumes that may suffocate you. Take all the given precautions to make sure nothing goes wrong during this diy procedure.