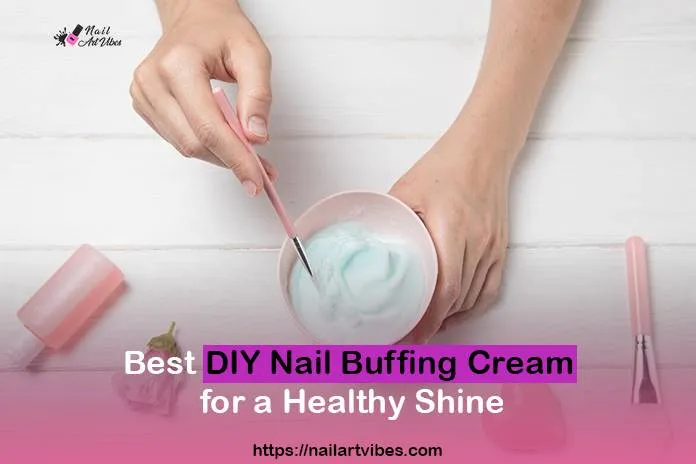
How to Apply PolyGel Base Coat? PolyGel Nails for Beginners
Discover the secret to long-lasting, chip-resistant DIY nails with poly gel base coats! In this guide, we’ll walk you through the simple steps to apply poly gel base coats like a pro.
From preparation to finish, we’ll share expert tips and tricks to help you achieve salon-quality results at home. Whether you’re a nail beginner or looking to improve your skills, this guide covers you.
Let’s get started and unlock the power of poly-gel base coats!”
This introduction aims to be concise, clear, and straightforward, providing a brief overview of what readers can expect from the blog post. Let me know if this meets your requirements!
What is Polygel and How It Makes Your Nails Extraordinary
Polygel is a revolutionary nail enhancement technique that offers flexibility, long-lasting wear, and lightweight comfort.
Unlike traditional gel or acrylic, Polygel is more flexible and less prone to cracking and chipping, making it a great option for those with weak or brittle nails. With a wear time of up to 21 days, Polygel is a long-lasting solution for beautiful fake nails.
Its lightweight material doesn’t feel heavy or thick on the nail, making it perfect for everyday wear. Polygel is also easy to use, even for those new to nail enhancements, and can be used as an overlay or sculpted to create longer nails.
Additionally, Polygel is free from harsh chemicals like toluene, formaldehyde, and DBP, making it a safer choice for nail health. With its high-gloss finish and nail-friendly formula, Polygel is an excellent option for those looking to achieve salon-quality nails at home.
Why is Acrygel a Second Name for Polygel?
Acrygel is sometimes referred to as a second name for Polygel because it combines the benefits of both acrylic and gel nail enhancements.
“Acrygel” is a portmanteau of “acrylic” and “gel”, indicating that it shares properties of both: like acrylics, Polygel is a nail enhancement material that can be sculpted and shaped to create long-lasting, high-gloss nails, and like gel, Polygel is a gel-like material that is cured under a UV or LED light to create a strong, flexible, and long-lasting finish.
Benefits of Using Polygel for Nail Enhancements
Using Polygel for nail enhancements offers numerous benefits, including:
Long-lasting wear: Polygel can last up to 21 days without chipping or fading.
Flexibility: Polygel is more flexible than traditional gel or acrylic, making it less prone to cracking and chipping.
Lightweight: Polygel is a lightweight material that doesn’t feel heavy or thick on the nail.
Easy to apply: Polygel is relatively easy to be applied, even for those new to nail enhancements.
Versatile: Polygel can be used as an overlay or sculpted to create longer nails.
No harsh chemicals: Polygel does not contain harsh chemicals like toluene, formaldehyde, or DBP (dibutyl phthalate).
High-gloss finish: Polygel leaves a high-gloss finish that resists fading.
Nail-friendly: Polygel is suitable for natural nails or nail enhancements and can help to strengthen and protect the nail.
Quick application: Polygel applications are relatively quick, making it a great option for those with busy schedules.
Overall, Polygel offers a durable, flexible, and long-lasting solution for beautiful nails, making it a popular choice for nail enhancements.
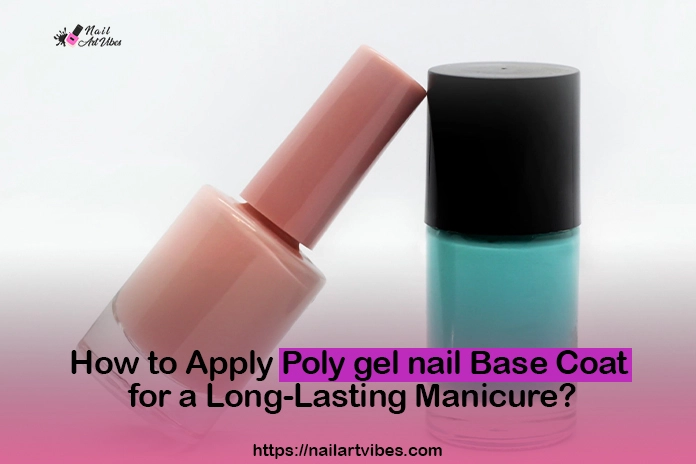
How to Apply Polygel Basecoat
Preparation
Before spreading the Polygel Basecoat, ensure the nail is properly prepared to achieve optimal results.
- Cleanse the nail with a nail cleanser to remove any oils or residue.
- Push back the cuticles to create a clean surface for application.
- Spread a thin layer of Polygel Primer (optional) to enhance when you need a base coat adhesion.
Application
Spread the Polygel Basecoat in a thin, even layer to achieve a strong and durable foundation for your nail enhancements.
- Dispense a small amount of Polygel Basecoat onto a nail palette.
- Dip the brush into the basecoat, wiping off any excess on the neck of the bottle.
- Paint a thin, even layer of basecoat onto the nail, starting at the center and working outwards towards the tips.
- Ensure complete coverage of the nail surface, avoiding the cuticles and skin.
Curing
Proper curing is essential to achieve the desired results.
- Cure the basecoat under a UV or LED light for 30 seconds to 1 minute, as instructed by the manufacturer.
- Repeat the process for a second coat, if desired.
Finishing
Complete the application with a thin layer of Poly-gel Topcoat to seal and protect the nail.
- Apply a thin layer of Polygel Topcoat, curing as instructed.
- Use a nail cleanser to remove any excess basecoat from around the cuticles and nail bed.
Maintaining Your Acrygel Manicure
Congratulations! You’ve successfully applied a base coat for a long-running manicure. To ensure your manicure stays beautiful and chip-free for weeks. Follow the below instructions;
- Moisturize Regularly: Keep your cuticles and nails moisturized to prevent dryness and breakage. You can use cuticle oil or hand cream to keep them hydrated and healthy.
- Avoid Using Nails as Tools: While the Acrygel is durable, it’s best to avoid using your nails as tools to prevent unnecessary stress on them. Use appropriate tools for tasks like opening cans or boxes to avoid chipping or damaging the gel.
- Wear Gloves When Doing Household Chores: Protect your nails from harsh chemicals and detergents by wearing gloves during household chores.
- Regular Touch-Ups: As your natural nails grow, we recommend getting regular touch-ups at the salon to maintain the look and longevity of your manicure. A skilled technician can fill in any gaps and ensure your nails look perfect for weeks on end.
With these instructions and a little care, we are confident that your manicure will stay flawless and beautiful for an extended period, outranking the competition with its long-lasting beauty.
Gel polish and poly gel give your nails enhancement that’s uncompromisable.
FAQs
Q: How long does Polygel Basecoat take to cure?
A: Poly-gel Basecoat typically takes 30 seconds to 1 minute to cure under a UV or LED light, depending on the manufacturer’s instructions.
Q: Can I use Polygel Basecoat on natural nails?
A: Yes, a Poly-Gel Base coat can be used on natural nails to add strength and protection. However, it’s essential to prep the nail properly and follow the application guidelines.
Q: How many coats of Polygel Basecoat should I apply?
A: Typically, one to two thin coats of Poly-gel Basecoat are sufficient. Applying too many coats can lead to pooling and uneven curing.
Q: Can I mix Poly gel Basecoat with other products?
A: No, it’s not recommended to mix Polygel Basecoat with other products, as this can affect its performance and longevity. Use the basecoat as directed and follow the manufacturer’s guidelines.
Q: How long does Polygel Basecoat last?
A: With proper application and care, this Basecoat can last up to 21 days. However, this may vary depending on individual factors, such as nail growth and aftercare.
Conclusion
Poly-gel Base coats and top coats are revolutionary products that set the stage for stunning nail enhancements. Its unique formula combines flexibility, durability, and long-lasting wear, making poly gel nails a go-to choice for nail technicians and at-home nail artists alike.
By following our comprehensive guidelines, you’ll learn how to apply Poly-gel polish like a pro, achieving a strong, chip-resistant foundation that will elevate your nail game.
Whether you’re a seasoned pro or just starting, Polygel Basecoat is the perfect tool to help you create beautiful, long-lasting nail enhancements that will leave your clients or yourself feeling confident and glamorous.