A Beginner’s Guide to Apply Poly Gel Nails

This blog guides the basics of poly gel nails, showcasing their clear superiority over regular acrylics. Polygel nails are a blend of innovation and style that go beyond the ordinary. There is no need for salon appointments, no compromises.
Prepare as we will discuss it all including careful steps that create flawless poly gel nails. Welcome to a story where fingertips tell tales.
What are Poly Gel Nails?
Polygel nails are a mix of traditional acrylic and hard gel nails. It comes in a tube and feels like putty, making it easy to shape before curing under a UV or LED lamp.
The result? Beautiful, strong, and flexible nails that last longer than regular polish. In this tube is a special formula that goes beyond the usual, bringing your nails to a place where they look good for a long time.
Forget about polish that doesn’t last and welcome the strength of poly gel, a cool thing that keeps your nails looking great.
Poly Gel vs. Acrylic Nails:
In comparison between poly gel and acrylic, poly gels are a better option to go with. While both have their strengths, poly gel stands out as a beginner’s best friend. Unlike the expertise demanded by acrylics, poly gel is forgiving, inviting DIY applications with open arms.
Acrylics require perfection, while poly gel encourages experimentation. Think of poly gel as the gentle guide leading you to a nail art journey.
So, when the question arises, the answer is clear, Poly gel is a companion for aspiring nail beginners.
Benefits of Poly Gel Nails:
Why choose poly gel? Here are some benefits:
Easy to Apply: Polygel is super easy to use. It doesn’t set until you use a lamp, giving beginners plenty of time to shape their nails just the way they like.
Light and Natural: Poly gel nails feel light. They’re not heavy like acrylics, giving your fingertips a comfy and easy feeling.
Strong and Lasting: Poly gel nails are tough against cracks and chips. They stay strong and last longer than regular polish, showing that beauty can stick around.
Shape Freedom: Have fun shaping your nails like an artist with clay. Poly gel lets you create different shapes, lengths, and designs to match your style. Your nails are your canvas, and poly gel is the versatile tool that lets your creativity shine. Go for poly gel, where it’s easy, comfy, strong, and lets your creative side bloom beautifully.
How to Apply Poly Gel Nails at Home:
Now, let’s break down the process into simple steps:
1. Prepare Your Nails:
Clean and shape your nails, pushing back cuticles. Now it is time to remove any old polish from your natural nails.
2. Apply Base Coat:
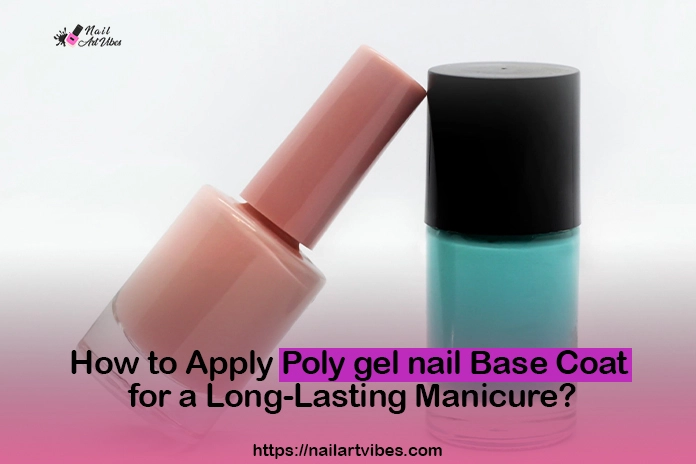
Apply a thin layer of base coat. This foundational step enhances adhesion and also provides a long-lasting finish. Cure it under the lamp, allowing the transformational process to proceed.
3. Select and Apply Poly Gel:
With a brush dipped in alcohol, sculpt and refine the poly gel to your desired shape. The putty-like consistency makes it sit better makes and for a reliable manicure.
4. Cure Under Lamp:
Now, finalize the procedure by curating your product under the UV or LED lamp.
5. Shape and File:
The cured poly gel thus transforms to precision making actual nail-like sculpting come to life. Take a file in hand, and shape it nicely to make it your go-to nail version.
6. Apply Top Coat:
The final seal to your nails comes with a top coat. It gives a glowy and shiny look to your nails. After the top coat, it is again time to cure the seal under the lamp.
Tips for Applying Poly Gel Nails at Home:
1. Divide and Conquer:
Poly gel waits for no one, and working in small sections can be your trick to go. To meet the time constraints, proceed with your nail transformation in manageable parts. This approach ensures that the poly gel gives you enough time to shape and construct it before it gets set.
2. Alcohol-Dipped Brush:
Keep an alcohol-dipped brush by your side, ready to smooth and shape the poly gel. It’s not just a brush.
3. Imperfection is okay:
Perfection is not a starting point but a destination that has to be achieved step by step. Don’t be disheartened if your initial attempt doesn’t mirror the vision in your mind.
Precautions For Applying Polygel Nails
Airflow Matters:
Begin doing your DIY Polygel nail procedure in a well-ventilated space. Moderate ventilation ensures a comfortable atmosphere and helps do procedures with at most precision without messing up.
Study the Instructions:
Always, read the instructions thoroughly reading the instructions that come with a poly gel kit. Each step, from application to curing, holds significance in achieving impeccable results.
Prioritize Cleanliness:
Cleanse your hands and sanitize your tools to create a pristine canvas for the poly gel transformation.
Guard Your Skin:
The thin layer of petroleum jelly or a barrier cream indulgence around your nails protects you like a pro. This protective shield prevents unwanted adherence of poly gel to the skin during the shaping process.
Opt for Quality Tools:
Select tools in optimal condition for a seamless application. Well-maintained brushes and files contribute to the precision and finesse required for a polished poly gel finish.
Moderate Alcohol Use:
Utilize an alcohol-dipped brush moderately. While it aids in shaping, excessive use can lead to over-drying of the poly gel. Strike a balance to maintain the desired consistency for effective manipulation.
Lamp Compatibility:
Confirm the compatibility of your UV or LED lamp with the chosen poly gel. The right lamp ensures proper curing, a vital factor in the durability and longevity of your poly gel nails.
Mind Your Product Quantity:
Caution is required with the amount of poly gel applied to prevent unnecessary thickness. Overapplication may hinder proper curing and pose challenges during shaping.
Embrace Patience:
Keep patience as rushing may result in imperfections. Work in smaller sections, refining as needed, and proceed the journey towards optimal results.
Storage Wisdom:
Respect the shelf life of your poly gel and store it in a cool, dark place. Improper storage or expired products may compromise performance, impacting the overall outcome of your DIY nail artistry.
FAQ’s
Is PolyGel Easy for Beginners?
Absolutely! PolyGel is beginner-friendly. Its unique consistency allows for easy molding and shaping before it sets under a UV or LED light. This forgiving nature makes it a great choice for those new to nail artistry.
Do You Need a UV Light for PolyGel?
Yes, you do. PolyGel requires curing under a UV or LED light to set properly. This process ensures that the PolyGel hardens and provides the durability and longevity you want for your nails.
Are PolyGel Nails Worth It?
Certainly! PolyGel nails are worth it for various reasons. They offer a lightweight and natural feel, are versatile in design, and provide durability compared to regular polish. Additionally, the ease of application makes PolyGel a cost-effective and stylish choice, especially for DIY enthusiasts.
Conclusion:
Doing any procedure like this at home makes you save your income and get your flawless manicure easily.
These procedures do not break the bank and add strength of confidence to your personality. With each stroke of poly gel, you’re not just crafting nails but you’re sculpting a narrative of beauty and creativity.
Happy nail styling, and may your fingertips always be adorned with a masterpiece of your own making!


