Do’s and Dont’s of DIY Acrylic Nails at Home
When we appreciate someone for some reason, this is something we’re interested in. Admiring the beautifully stunning is something as well as something which we want for ourselves. A few practices can make it, and only a few practices can ruin it as well.
Today, we’re going to learn about the do’s and don’ts of acrylic nails so you can make your way to those amazing nails that you have always admired.
Let’s get started;
The Dos of DIY Acrylic Nails
Let’s get to know about those magical do’s and unfortunate don’ts that can make or damage your path;
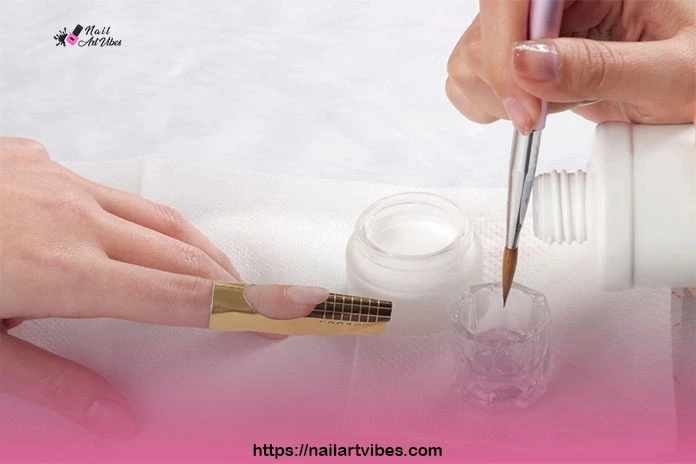
1. Start with Clean, Dry Nails:
Apply nail cleanser and let it dry to make sure your nails are free from oils or any residue. This will make sure that your acrylics will adhere better and will not lift.
2. Use High-Quality Products:
Always invest in quality products, including quality acrylic powder, liquid monomer, and other products that you’ll use. A good product will not only ensure your manicure goes well but also play a role in your natural nails’ health.
3. Practice Proper Hygiene:
Whenever doing a nail procedure, clean your hands and tools and sanitize them because we want infection to grow underneath your acrylics.
4. Work in Thin Layers:
Do not apply much acrylic in one go, in this case, consider less as more. Start with a few of it, spreading into thin layers, evening them out. Then you can repeat these layers to the thickness you want.
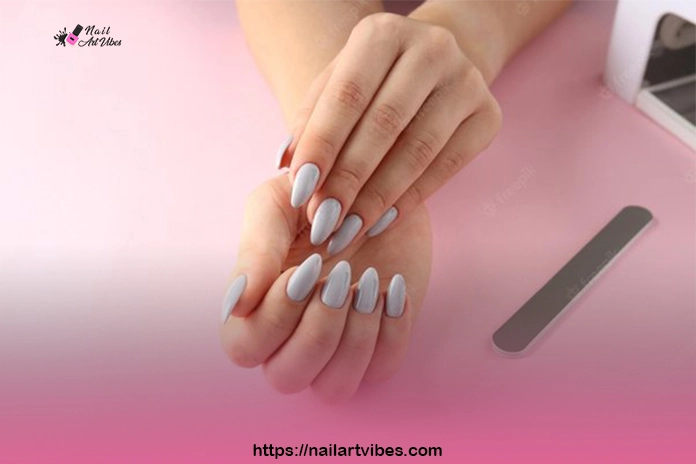
5. Buff and Shape Carefully:
After you’ve achieved the desired thickness, this is the time to smooth the surface. To even out imperfections and to make a flawlessly smooth nail, but do it gently.
6. Hydrate and Moisturize:
Do not let your cuticle skin dry or damage, instead keep it moisturized and hydrated to make sure healthy growth of your nails.
7. Be Patient:
You cannot do perfect acrylics in one go, instead keep trying, shortly you’ll do the best. Be patient and consistent at the same time.
The Don’ts of DIY Acrylic Nails: Pitfalls to Avoid
Here are the don’ts—the things to avoid—to ensure a smooth and successful acrylic nail experience:
1. Don’t Skip Nail Prep:
For a sensitive procedure like getting acrylic nails, nail prep is the essential first step. Always clean, trim, shape, or buff your nails, neglecting it may cause poor adhesion and premature lifting of the acrylic.
2. Don’t Overfill Your Nails:
While shaping your nails is essential for achieving your desired look, overfilling can weaken the natural nails and cause damage. Be gentle when filing and avoid excessive filing, especially near the nail bed.
3. Don’t Apply Thick Layers of Acrylic:
Do not apply thick acrylic layers, they may take longer to settle and also, evening them out is a problem.
4. Do Seal the Edges:
Always properly seal the edges, as it can lead to lifting and peeling.
5. Don’t Avoid Maintenance:
Your nails are not designed to be used as a tool, be mindful while working with them, do not lift or open objects using them. You don’t have to leave your nails like that after manicure, regular fills and touchups should be done.
6. Don’t Ignore Signs of Damage:
Whenever you witness inappropriate signs like lifting, discomfort or damage to your nails, reach out to your dermatologist immediately.
7. Don’t Rush the Removal Process:
Do not pick your acrylics with hard hands, but be gentle and try some different techniques to remove your acrylics. Harsh hands may ruin or damage your natural nails.
Seeking Professional Assistance When Needed
DIY projects are always fun, and doing your acrylics by your own feels so good. But do not hesitate to reach out to your nail tech if there’s any issue other than the ones below.
1. Persistent Issues:
To encounter issues like chipping, lifting or peeling of acrylics, a professional nail tech may help assess the issue or provide guidance.
2. Complex Designs:
If you opt for simple designs, you’re good to go, intricate ones may only be done with the professional help, they are skilled at creating such designs and have helpful tools as well.
3. Nail Health Concerns:
. If your nails have underlying health issues, don’t blindly try to get yourself acrylics, health is more important. Do visit your dermatologist or nail tech to consult if you’re good to go or not.
4. Special Occasions:
If you have any special occasion ahead, consider booking your salon appointment. Don’t try at home until you’re an expert to prevent ruining your manicure. Also, professionals will give you an art inspired from the theme and your outfit and will make sure your hands look great.
5. Removal Assistance:
If you’re not a professional, removal is not recommended at home. Inexperienced ones may attempt to damage natural nails or cause any infection.
FAQs
How long do acrylic nails last?
The average lifetime is 2 to 3 weeks, with proper touchup and fills, you can take it to 6 weeks.
Can I remove acrylic nails at home?
You can remove them at home, at the same time, getting it at the salon is recommended. You may damage your natural nails if you are not an expert at home.
Are acrylic nails suitable for everyone?
Acrylics are considered safe for most people, but those with sensitivities or allergies would look for other options.
How much does it cost to get acrylic nails done at a salon?
For different areas and inclusive services, cost may vary. Count a range from $30 to $100, with fills costing around $20 to $50 on average.
Conclusion
Acrylics are the first manicure option that comes to the minds of many of us. But, most of us face troubles during the procedure or afterwards.
To answer the concerns of everyone out there, I’ve got you essential do’s and don’ts of doing DIY acrylic nails. Follow our guidance and say hello to the perfect acrylics every time.